Canadian Rockies with Sony A7iii

Back Story

We have been planning to visit Canadian Rockies for years. For some reason we had to delay it multiple times. After all the wait and frustration, we finally got our tickets. 

As a photographer, I always do my best while planning. I check possible photo locations, weather conditions, accomodation etc. And I know from experince that all these efforts does not always mean everything will go smoothly or as planned. 

When our trip was getting closer, wild fires in Canada was also getting worse. I was checking all news websites, Instagram and other sources for the conditions. We got desperate at some point. Air quality was pretty bad. We were feeling sad for all those beautiful forests getting burned and also a possible closure that could happen anytime at the Parks we were planning to visit. This summer was one of the worst fire seasons.

Some kind of magic happened right before we left San Francisco. Big fires were over and it rained in Banff. We were welcomed with some clear skies and some not so bad light.

Preparation and Gear

My biggest plan was to travel light this time. I was super excited to see Banff, Jasper and Yoho. I wanted to be free and not worry about gear too much. At some point, I even considered travelling with my iPhone and a compact camera. I immediately gave up on that idea of course. I had to bring at least one professional camera and a good lens to capture the beautiful landscape.  

My final decision came down to one pro camera body, some light lenses and a compact backup camera. I recently bought a Sony A7iii and never had a chance to even try it out. This was the perfect oppurtunity. 

The biggest question was, “which lenses should I bring with me?” 

My lens options were, Sony 24-105 f4, Sony 12-24mm f4, Sony 28mm f2, Sony 50mm f1.8, Sony 28-70 f3.5-5.6 and SLR Magic 35mm f1.4.  

My first choice was Sony 12-24mm f4. I directly mounted it on my camera. There was no question about if I would bring it or not. It was coming to Canada with me! 

Second lens was 28mm f2 because of its lightweight and low aperture. I love using it for some dramatic video scenes.  

3rd lens I was going to take with me was the hardest choice. 24-105mm is a very heavy lens. I used it only 2 times since I bought it and never felt like it was the right lens for me. While I was deciding what to bring, I put 24-105 f4 on Craigslist and sold it. Thankfully another passionate photographer got it. I am pretty sure he is having more fun than I was having. 

I was in between 50mm and the kit lens for a while. I thought it would be the best to have a versatile zoom lens instead of a prime as my 3rd lens. I knew there would be many telephoto options with all the  glorious peaks especially during Icefileds Parkway drive. 

I also didn’t want to go with only one camera. I had some other full frame Sony bodies but It would make my bag heavier. I also have Olympus, Canon and Fuji cameras but I didn’t want to have multiple brands with me. I wanted to keep everything minimal. I decided to take Sony RX100VI. It is one of the best compact cameras out there. RX100 VI has a 200mm zoom lens! It could come in handy in some situations. 

Another big decision was about video stabilization. I have the Zhiyun Crane. It makes all the difference in videos. I love using it but it is a bulky piece of gear. I really wasn’t in the mood to make a crazy video from this trip. I wanted to enjoy more and capture less this time. So I left the gimbal at home. I kind of regret this decision. I could bring it with me and use it in some scenarios. 

I brought 2 tripods with me.  MeFoto Backacker and a Manfrotto pixi. They are very small and lightweight tripods.  

Didn’t even consider bringing a drone because they are not allowed pretty much anywhere in Canada.

So, my final kit was consisting of these items:

Main Camera: Sony A7iii

Lenses: Sony 12-24mm f4, Sony 28mm f2, Sony 28-70mm f3.5-5.6 (Kit Lens) 

Backup Camera: Sony RX100VI

Tripods: MeFoto Backpacker, Manfrotto Pixi


Trip

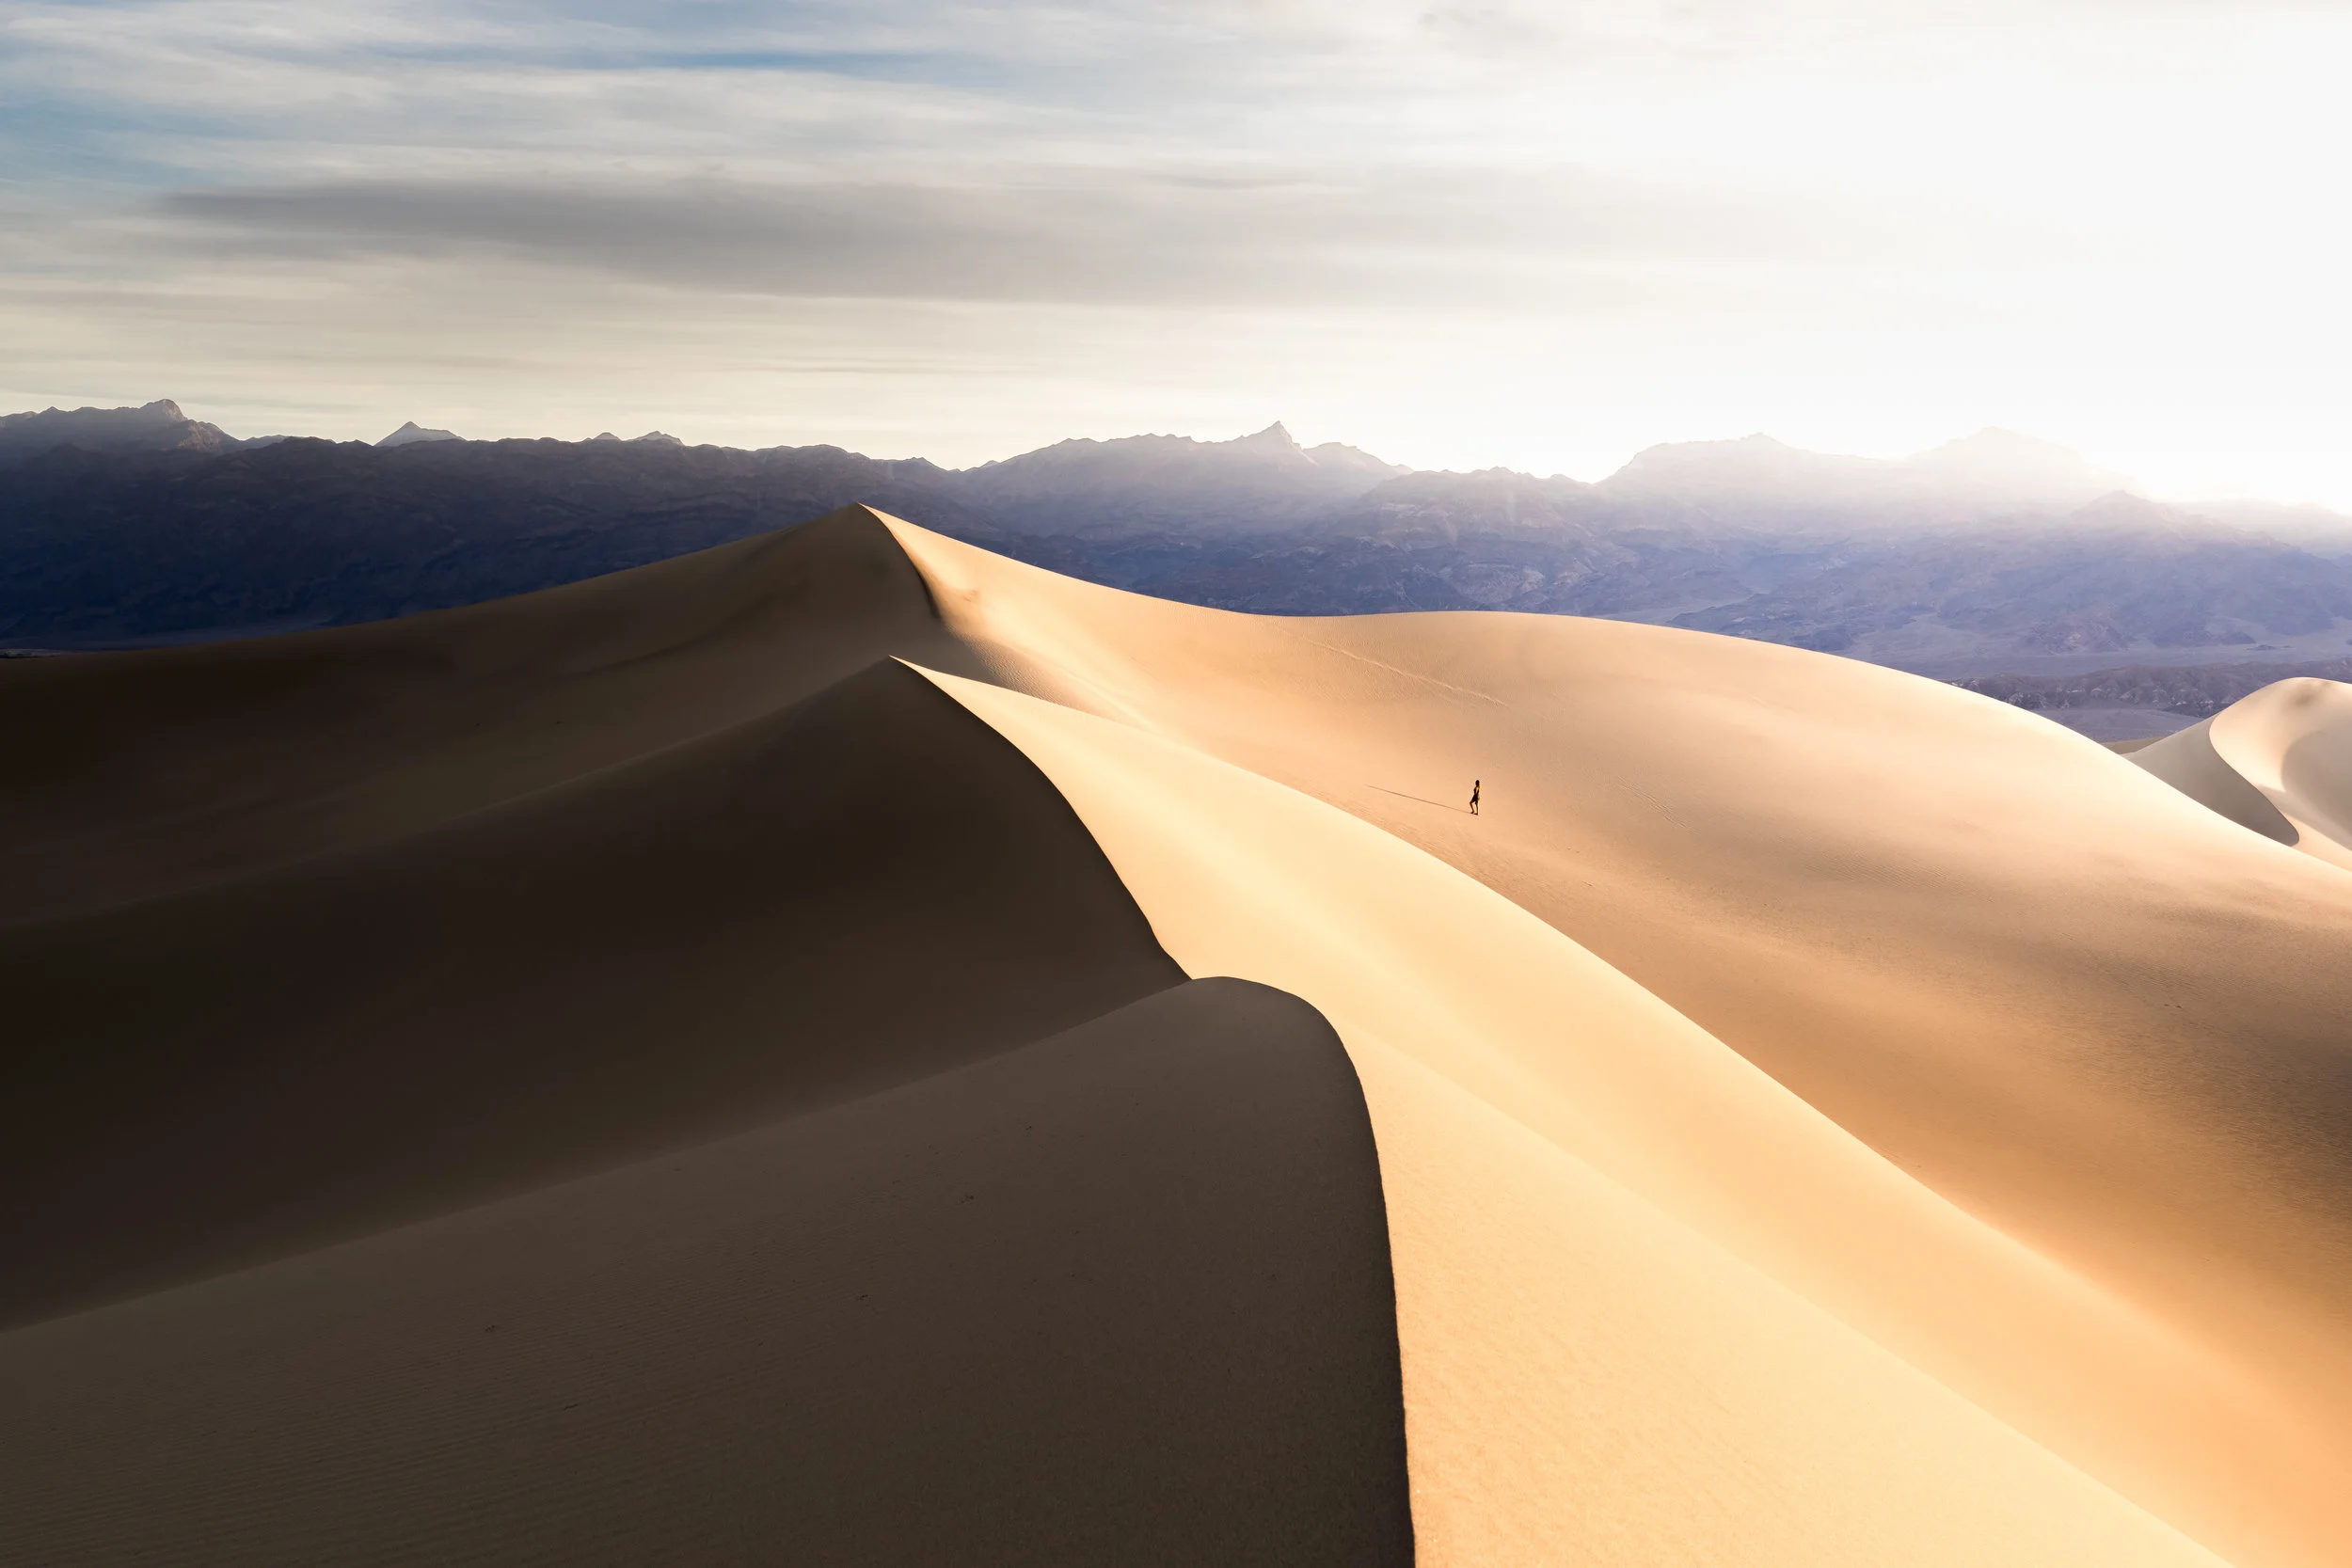
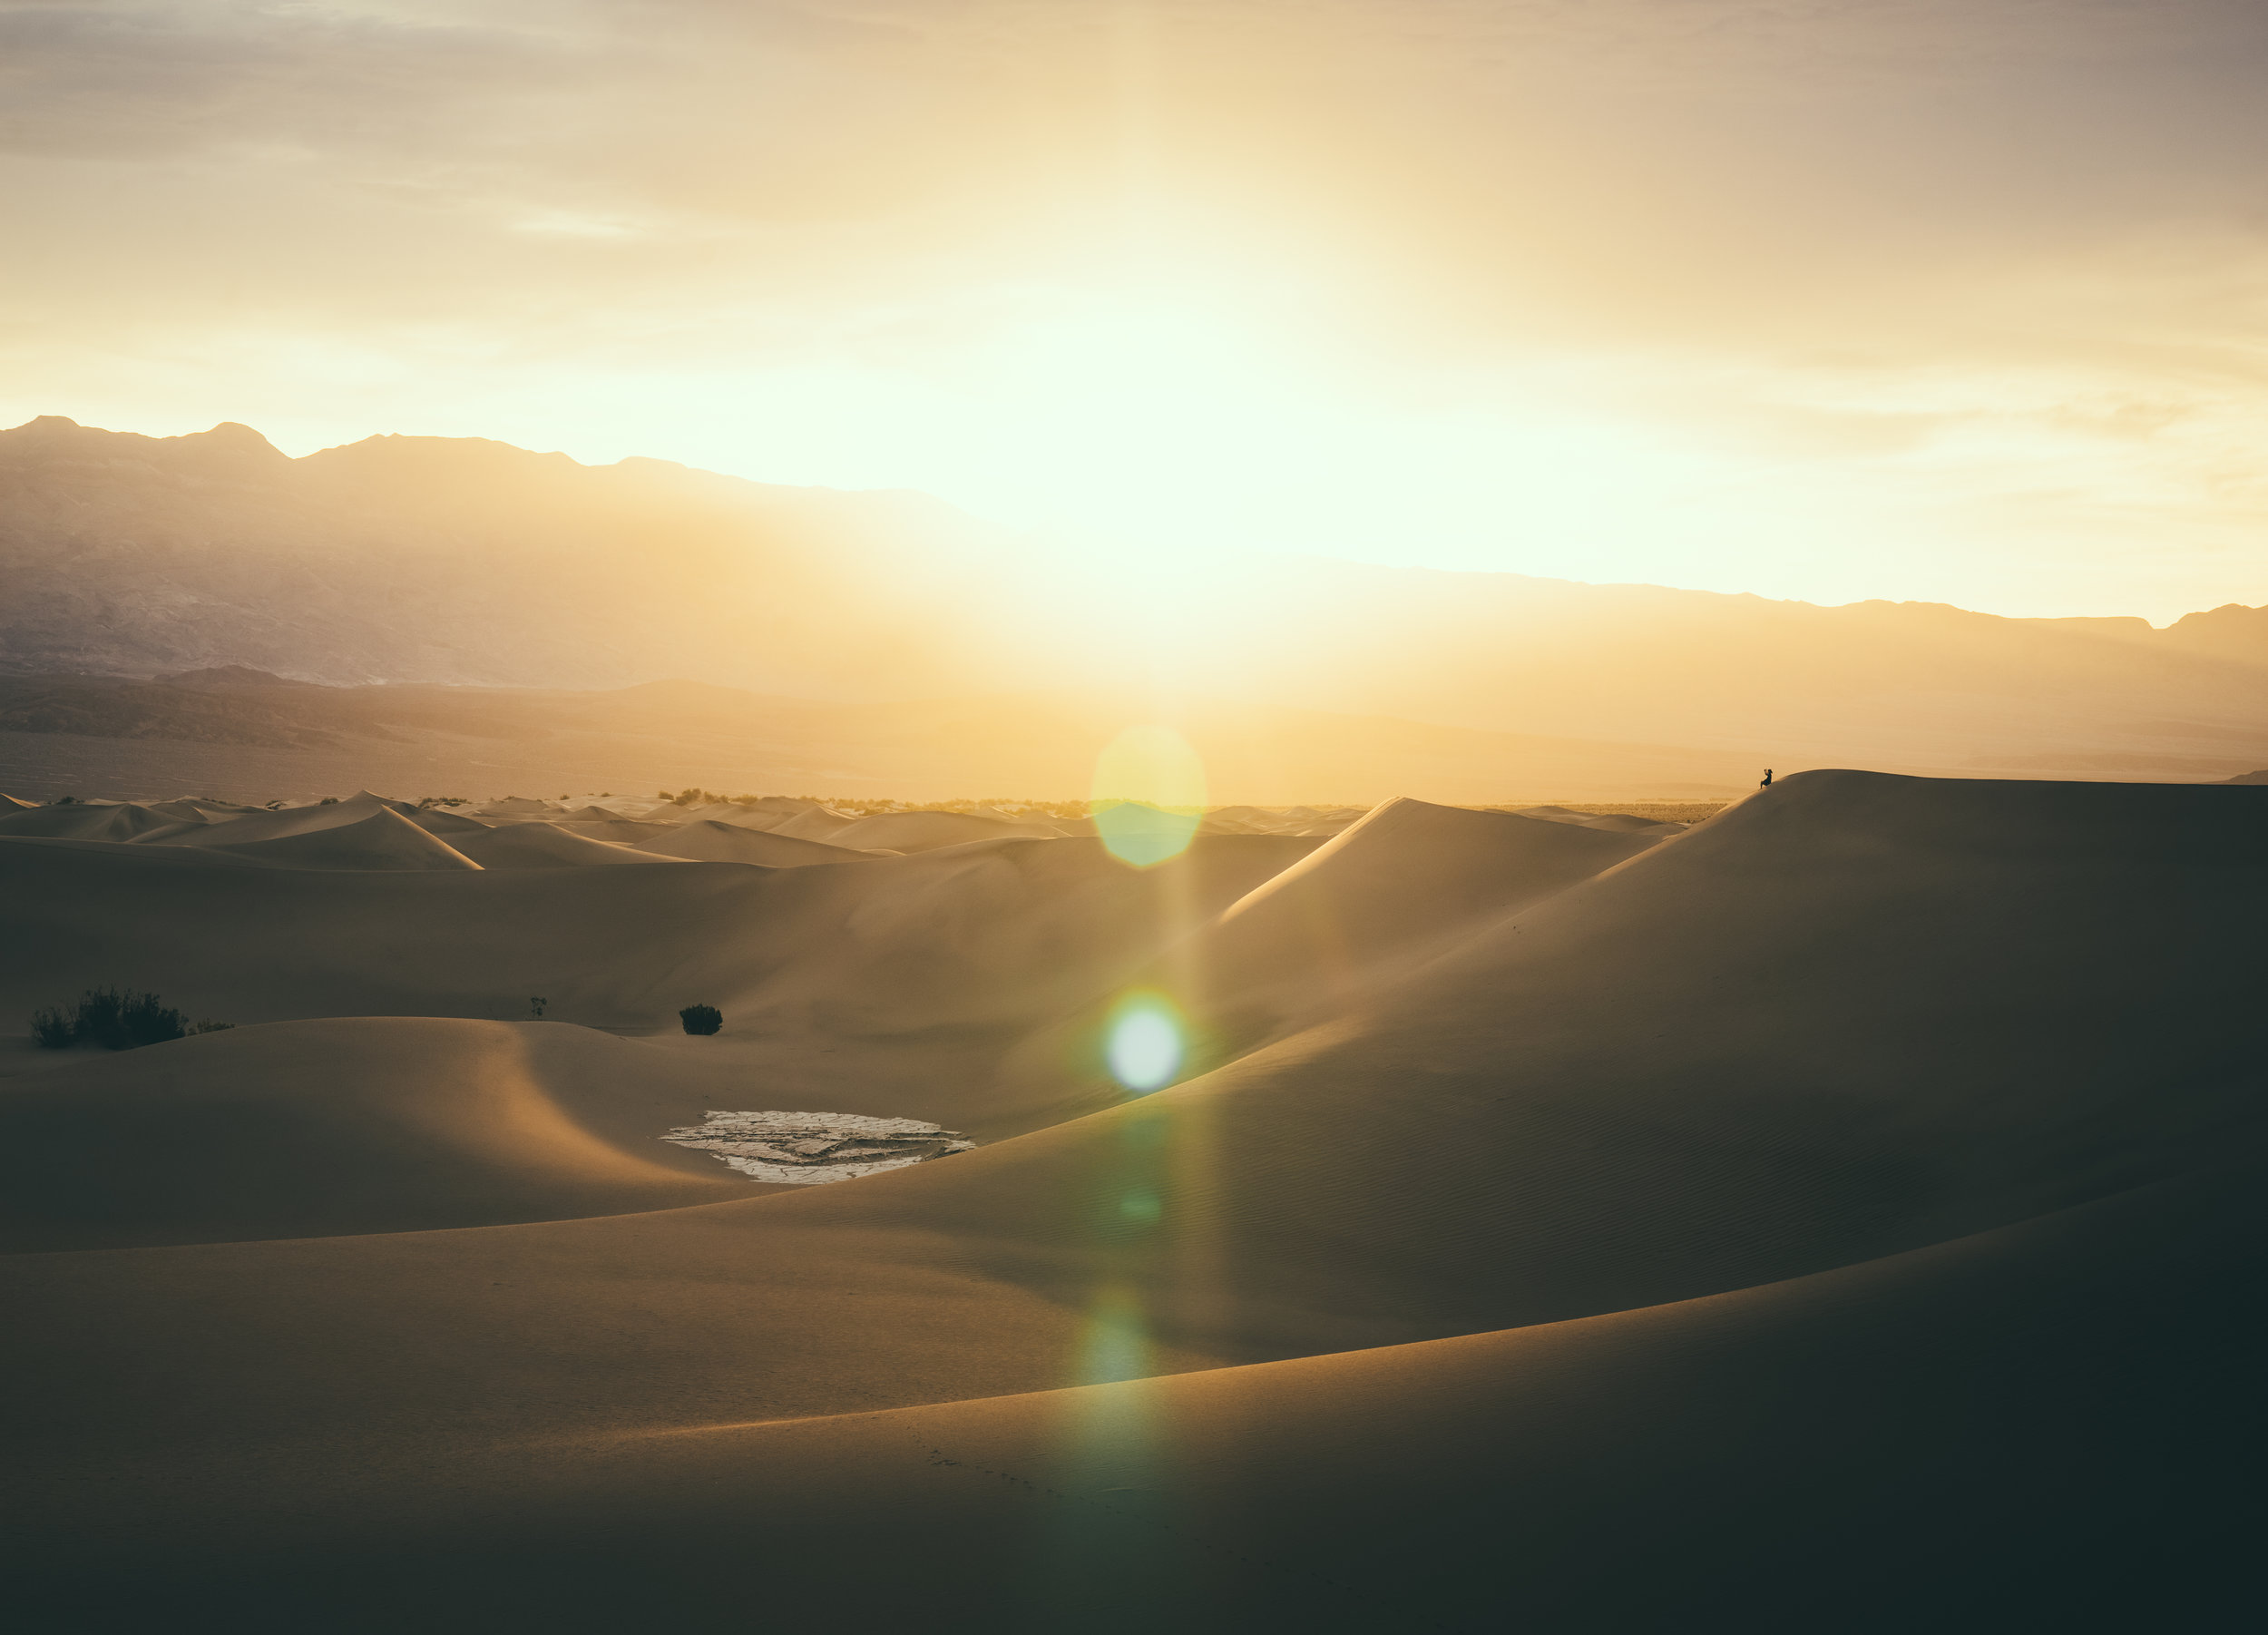
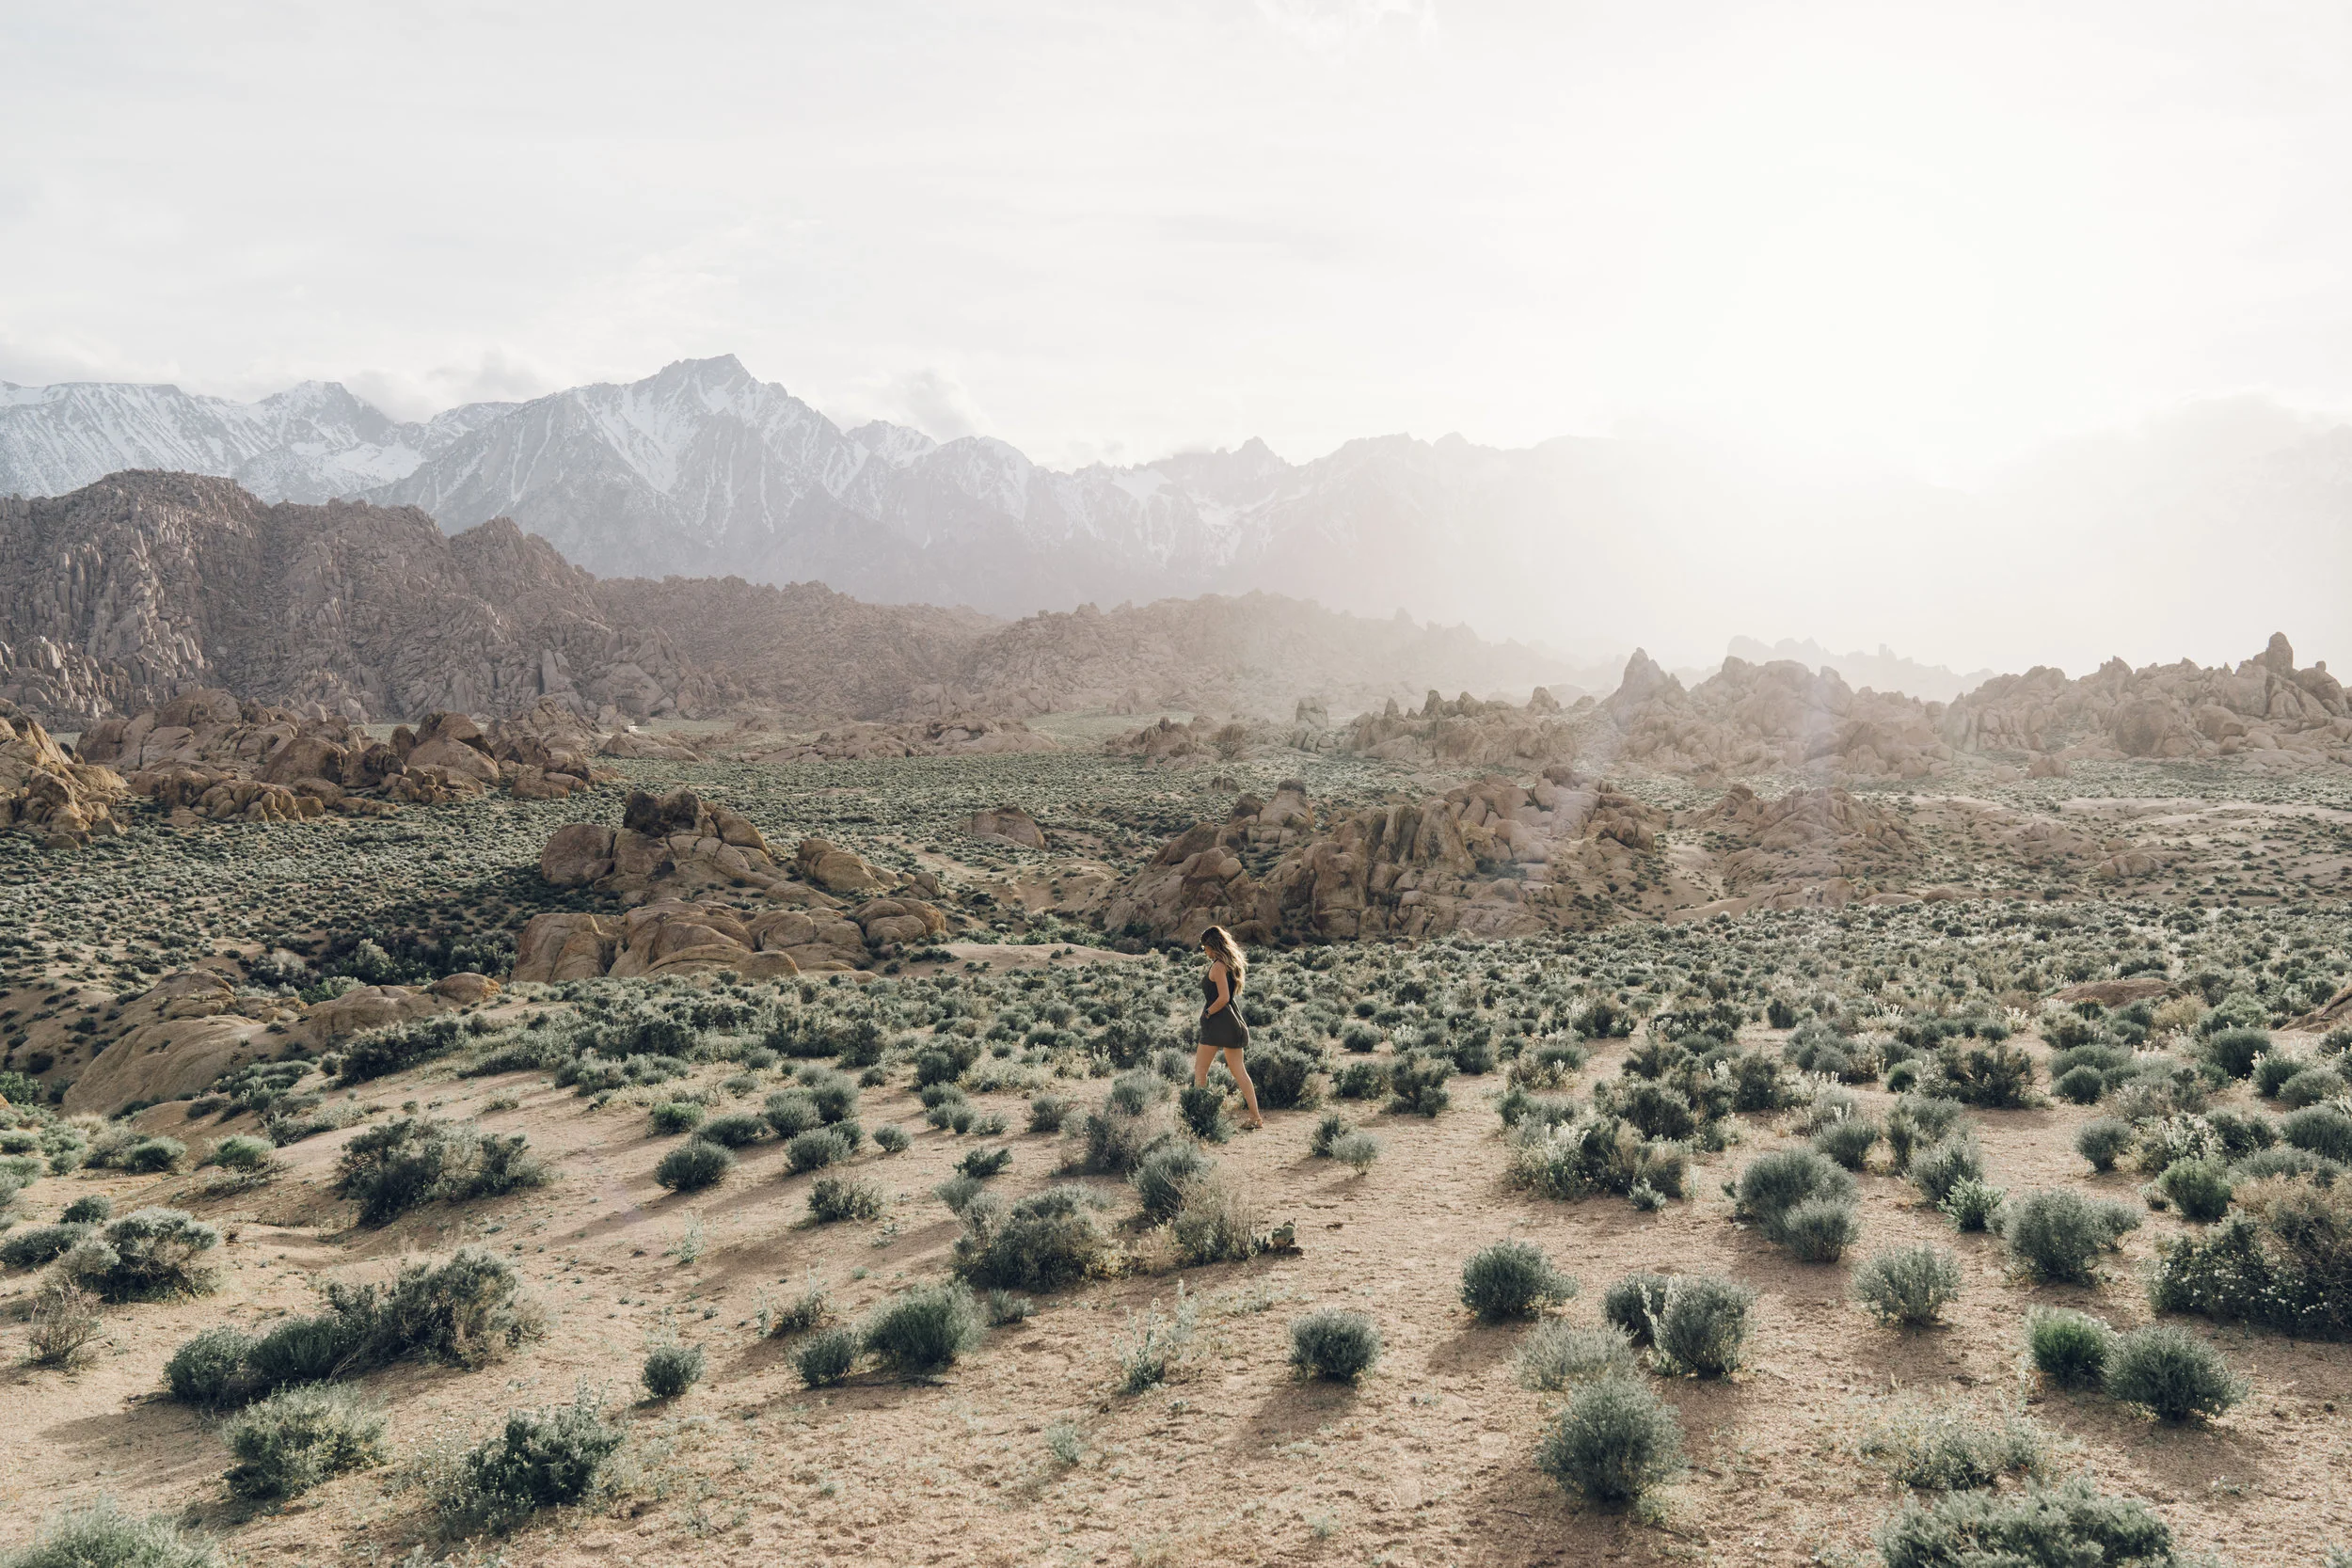
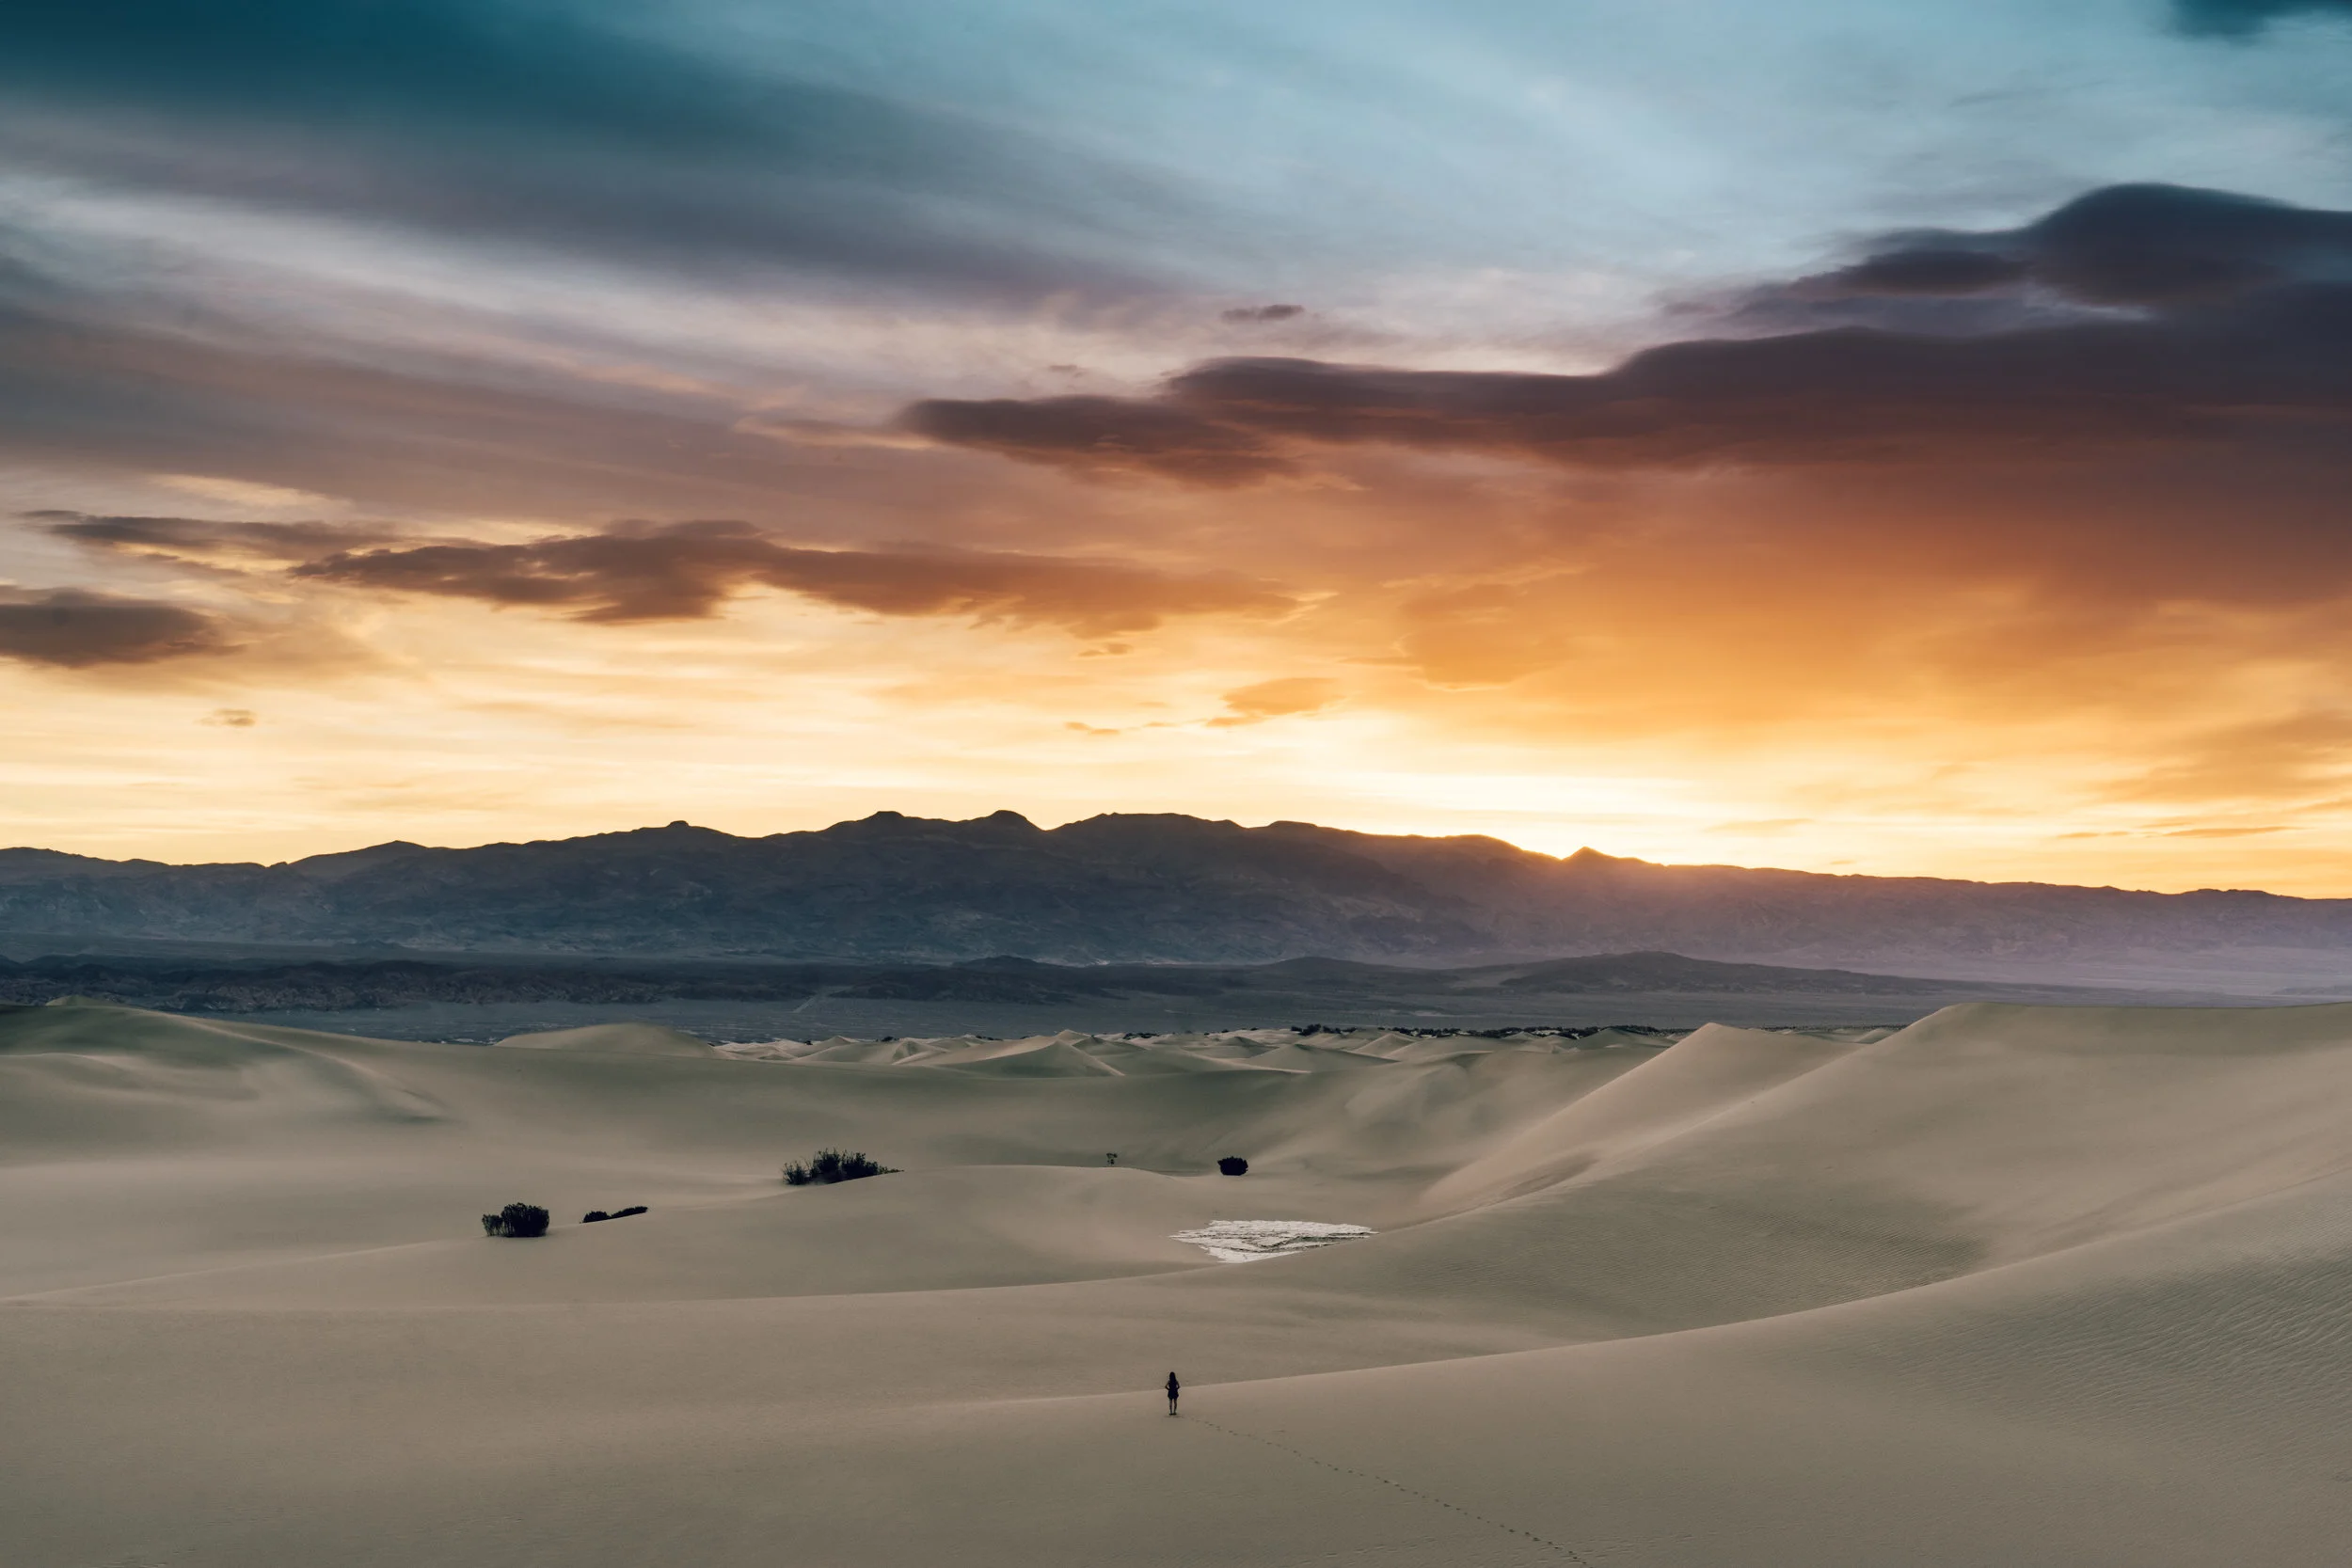
I have to admit, I have never seen a more picturesque area than Canadian Rockies. It was an overwhelming experience from start to finish. We traveled a lot in US recently. We have had some amazing photography trips. As a photographer who is in love with California, Utah and Oregon, I can clearly say this was a different kind of experience. The density of amazing locations is too much to handle. Usually, when we get to a National Park, we have 4-5 amazing locations to shoot and most of the time we have to hike or drive for hours to get to those locations. Being able to park our car and walk couple steps to the most amazing lakes was something we didn’t expect. 

One week was not enough and I think even one year wouldn’t be enough for me. At some locations we just sat down for hours speechless, staring at the beautiful colors. We discovered some shades of blue that we have never seen before. We also loved the people and food in all cities we visited. Coffee and Beer was 10/10 everywhere we tried. One week in the Rockies passed like a second and here I am checking out my photos at home drinking coffee from my cup Aybuke bought from Canada for me. 


Photographing The Canadian Rockies

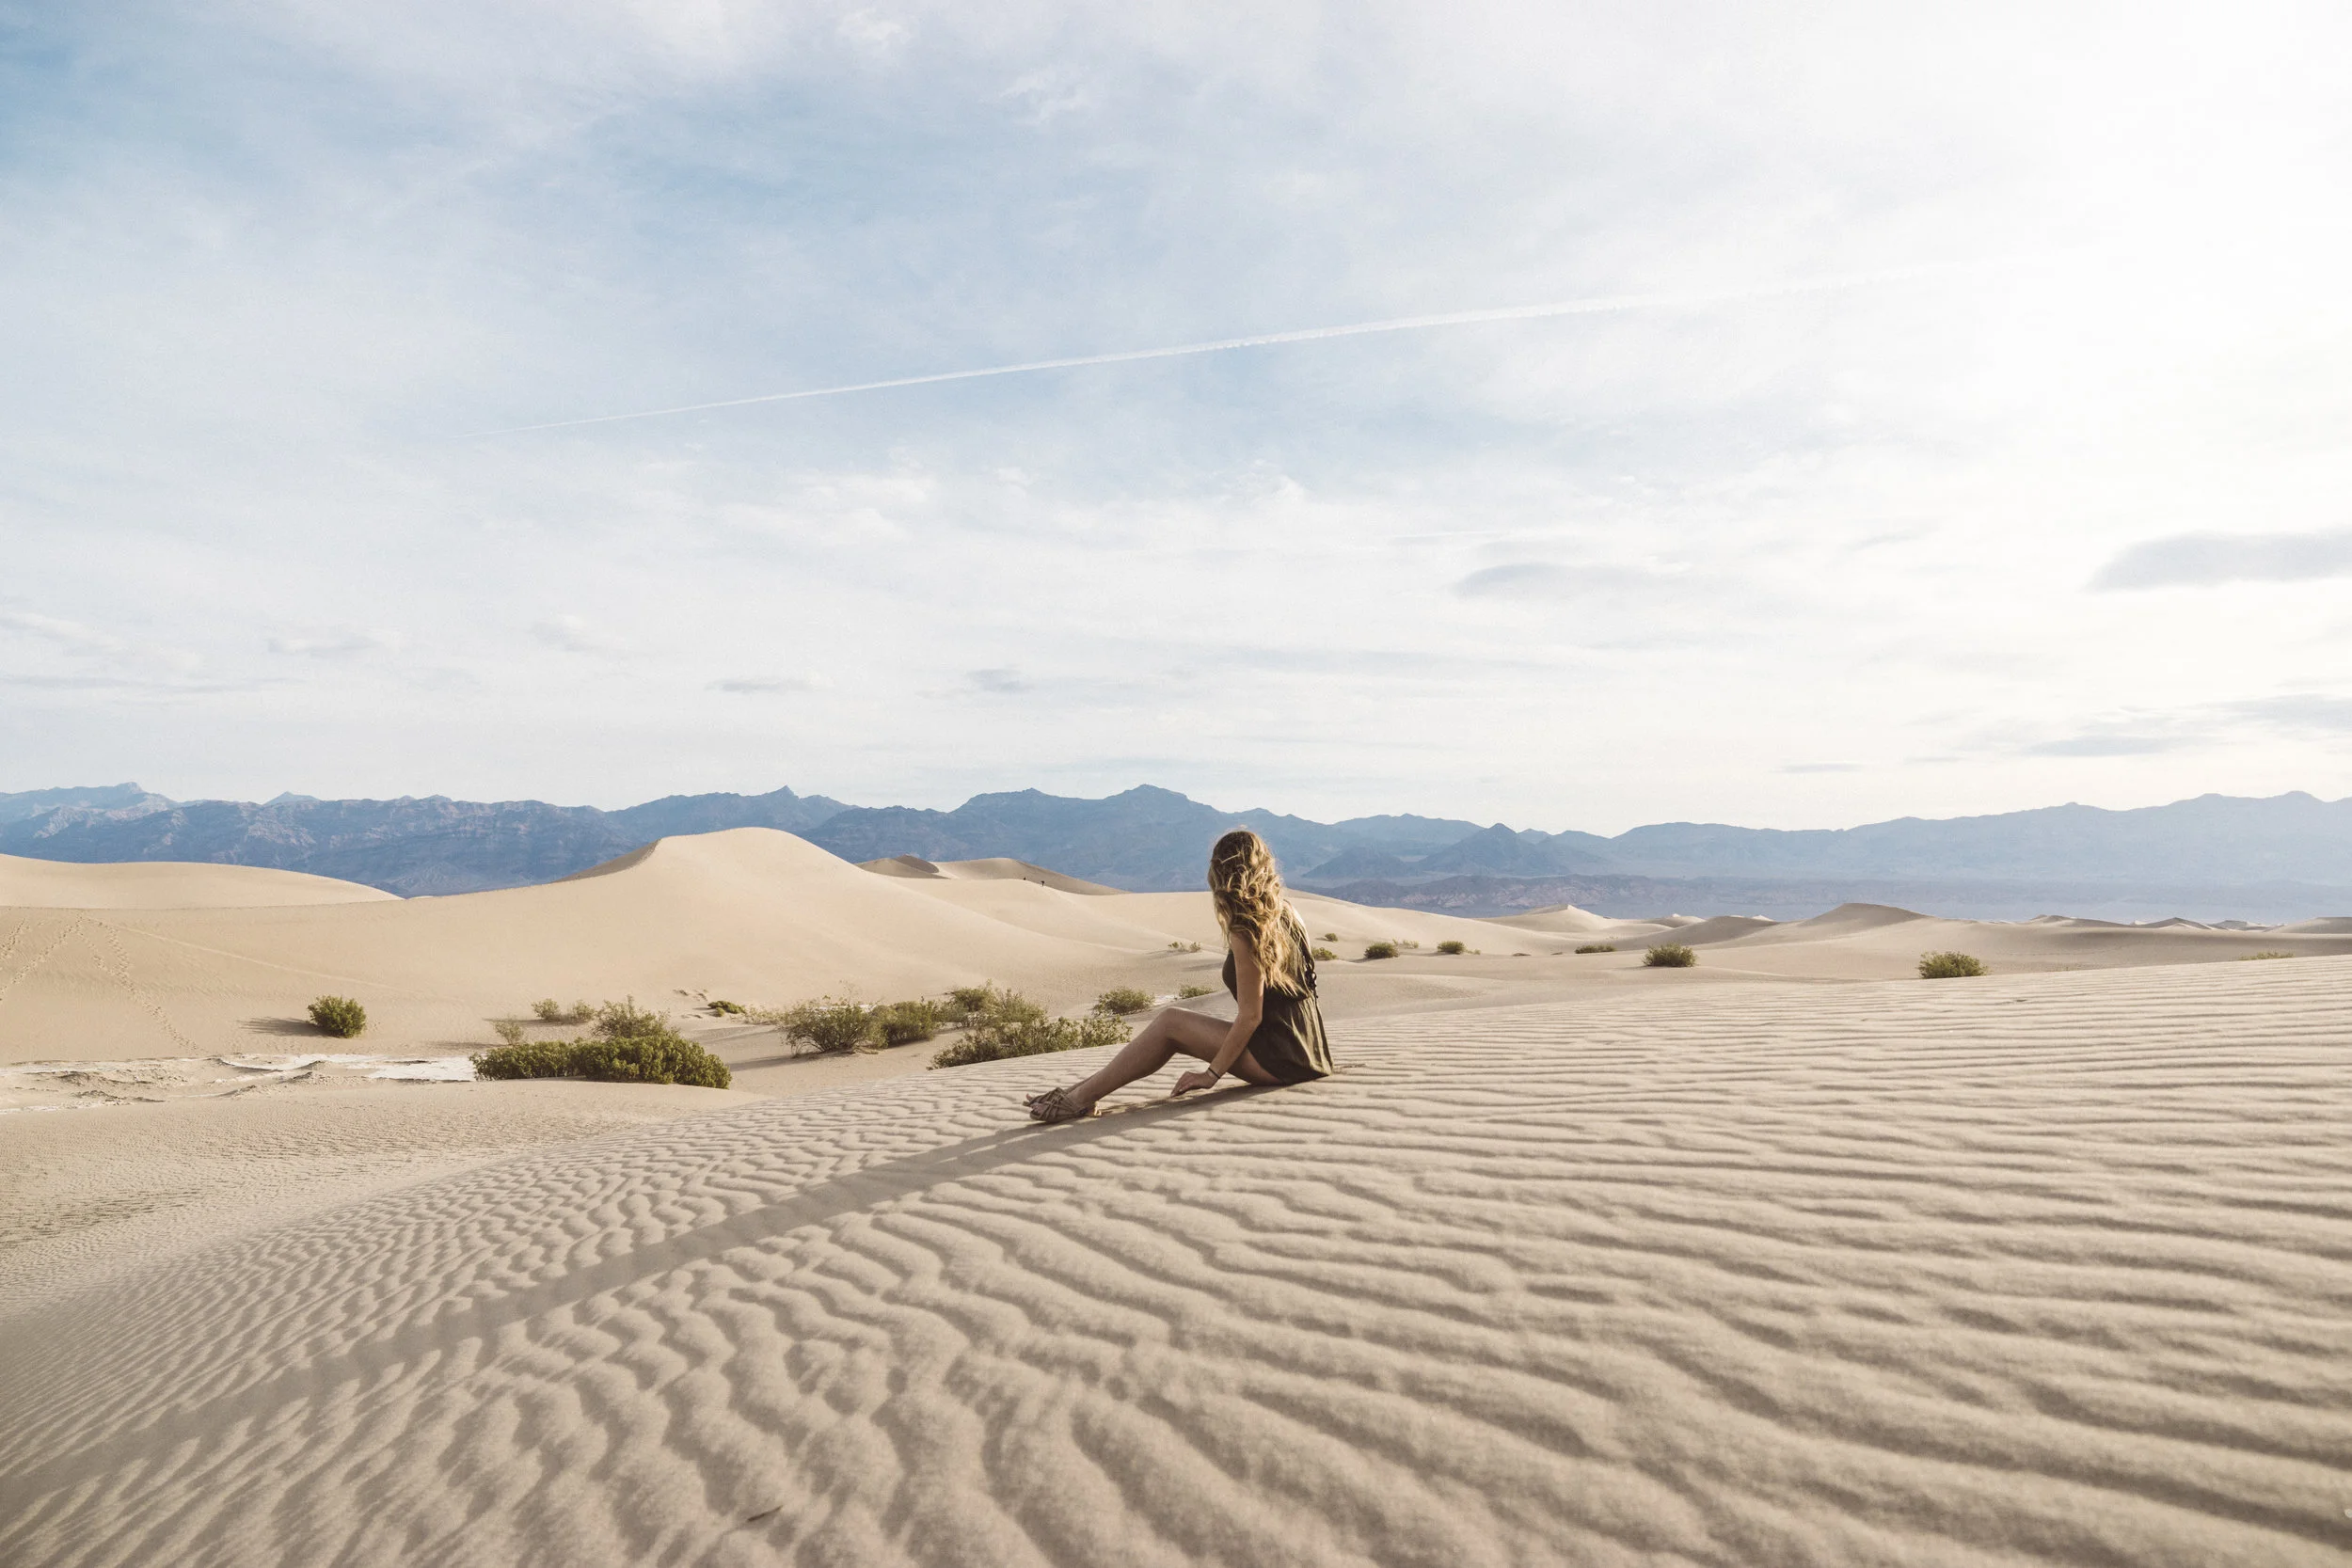
First of all, this was my least technical photography adventure. I was %90 a tourist and maybe %10 photographer during the trip. I used the auto mode on my camera for the first time in years! I shoot everything manual and auto mode is something very unsual for me.

Landscapes were so beaufiful that I really didn’t need to change any setting most of the time. I mean Sony A7iii is a pretty amazing camera. Auto Exporuse settings are mostly very close to how I would shoot anyways.

Another big change for me was the use of my tripods. I think I used a tripod 1 or 2 times in the whole trip! If you have been following me from Instagram or Youtube you might already know that %90 of my pictures are shot in ISO 100. I only use higher ISO’s for night time photography. This time it was different. I set my highest iso to 2000 and shot in Auto ISO for the first time ever! A7iii’s sensor is probably the best sensor I have ever used. It handles low light like a champ. I was free as a bird. No tripods, no gimbals. 

I probably used Sony 12-24mm f4 more than any other lens. Rest was shot with the kit lens. I used 28mm f2 only for 5 mins for a video scene and I am really not sure if I captured anything with it. I remember putting the lens on but I might have just checked the field of view and put it back to my camera bag. 

The images I am adding to this blog are only a small part of many images I shot. We almost never had perfect light at any sunrise or sunset. Still, I am pretty happy with my results. Also not bringing a heavy telephoto lens was a good idea. It wouldn’t make any difference. I didn’t see any good compositions longer than 70mm’s.  

As a side note, I did not use RX100 VI even once. It was in my camera bag and never left it.  

What Would I Change?

It was a brave decision to sell the 24-105mm f4 and get the kit lens instead. I can clearly see some bad results coming from the kit lens on my computer screen. There are some extreme soft corners and some weird softness in images. I am not sure if it was caused by the polarizer or maybe I got too exited and shaked the camera while shooting at lower shutter speeds or maybe it was just a bad copy. Overall, I wouldn’t go back to Canada with the kit lens. I would probably bring the Sony 50mm f1.8 instead. I love that lens and I am sure it is sharper than the kit lens at f2.8. 

RECAP VIDEO

I made a quick recap video from some highlights of the trip. I shot everything handheld. It was very difficult to do the Ninja walk at some places but I still managed to get some smooth seconds of footage. They are a mix of 60fps and 120fps HD clips. I did not shoot anything in 4K. Also first part of the trip was shot on S-Log 3 and second part was S-Log 2. It wasn’t a planned decision. I forgot the camera on S-Log 3 which is very hard to grade in my opinion. I immediately went back to S-Log 2 as soon as I realized I was shooting S-log 3. I used Da Vinci Resolve for everything. 

Song by Novo Amor, Anchor. We have been listening to him a lot on the road. Pretty inspiring and cinematic in my opinion. 

Conclusion

It was one of the greatest trips of our life. I had the oppurtunity to have some amazing time with my girlfriend Aybuke and also capture some of these moments. I feel excited for everything ahead of us waiting to be experienced. Thank you for everything Canada! We will be back.

Thank you for reading!

Baris

MY CAMERA GEAR

You can find out more about all the gear I use on this link.

https://www.amazon.com/shop/barparildar

Sony G-Master 24-70 2.8 in Desert

On my last blog, I put the cheapest lens of the Sony FE-Mount system through its paces. It was the light and plasticky 50mm f1.8. From my perspective it is still one of the greatest Full Frame lenses made for Sony.  This post is going to be quiet different. It is about one of the most expensive Sony lenses, the G-Master 24-70 f2.8. I just wanted to see the difference and feel of two lenses from different ends of the lens spectrum.   


All the shots you will see here were shot on the G-Master. I promised myself not to use any other lens for the whole trip. It is my learning process for pretty much every piece of equipment. Focus on it, use it as much as you can and then make a desicion if you really need it or not. Usually If I like an equpiment I make that decision in the first 1-2 days of use. I learned that I shouldn't buy anything if I have some worries about it. As a side note, I would highly recommend trying new stuff on, not very important occasions. If you are shooting a very important gig and you are shooting with a new tool you might get in trouble. This happened to me before when I switched to a new camera body and I thought I would be ok with it. Even the simplest change on camera button layout can take sometime to get used to. I learned this simple information the hard way when I struggled to get any usable picures at a product shoot.

So, I have this lens for a month now and this was not the first time I used it. I was already pretty comfortable with it in my hand and I already made the decision to buy it.

I have been in Death Valley many times and my number one advice to any photographer going there is, NEVER change your lenses inside the park. Whether you are in your car, on Sand Dunes or in a restroom you WILL get dust in your camera and probably on your camera sensor. There is always flying dust particles even if you don't see them while shooting you will see all those spots on your images while checking them on your computer screen.  It is almost impossible to keep your camera sensor safe while changing lenses. Some people might have some techniques to avoid this but most of us don't.  I hope one day some a camera manufacturer will make the completely dust free interchangable lens camera. Until that day I am not taking my lens off in dessert. This was the main reason why took my zoom lens out for this trip.

I had to be flexible. I knew I needed some wide and medium telephoto shots. Personaly, I find 24-70mm as the most boring focal lenght. 24mm is not wide enough to distort space and 70mm is not enough to compress that background to create some magical long shots. It is very challenging for me to get creative with it. But at the same time it touches both ends a little that you can fake a super wide or a long telephoto lens if you compose the image good. It all depends on your composition. 

I have always chosen practicality over quality. Some of my greatest images came out of cheap, light and plasticky lenses or cameras. It is the way I shoot. I never wanted to look cool with my camera gear. There have been times that I was at the end of an incredibly long hike and I saw a photographer passing by with tons of heavy gear sweating like crazy. I never wanted to be that person. I usually study the locations before I go. I have to know what lens I will be using. I almost never take more than one lens with me on a hike. I don't find it fun. So, carrying a pretty heavy lens like the 24-70 f2.8 was already something I didn't like. 

How did the Lens perform?

The most amazing thing about this lens is the auto-focus. It is by far the best Sony lens I have ever tested in that aspect. It can nail the focus easily pretty much in every scenario I need. Silent and fast auto-focus was something I have been missing with all my other lenses. If you ever tried a Canon lens with an adapter on a Sony body you know what I mean. I don't think I have ever used auto-focus for the past 2 years. This lens changed it completely. I can't write enough about it. 

Built quality looks great. I haven't dropped the lens yet and hope it never happens but it looks like this lens can handle some small accidents. I love the feel of zoom and focus rings. They work great as they should be at this price.

Another amazing thing about the lens is the color rendition. You can see lots of people talking about the contrast and color of specific lenses. I actually thought they were exaggerating.  When I watch a reviewer talking about a Leica Sumicron color and contrast for 10 mins I get bored. But I think now I can understand why it is very important for lots of people. This lens has some magical color. It gives a punch to skin color like no other lens. It has different contrast characteristics. I don't know how or why but I see it on Lightroom in every single photo. I love working with the Raw files coming out of this lens. 

With all these great advantages it is still not the lens for me. I am a prime shooter. I don't like to classify myself but that's the way I enjoy photography. I would prefer carrying two bodies and put two different primes on them than using a zoom lens. I feel like I get lost in too many options while shooting. It literally distracts me to have too many options.  

There is one down side of this lens that I don't see much about online. It has very heavy flare. If you are shooting into the Sun and want flare free photos, well good luck with that. I personally like using lens flares here and there so I try to use it as an advantage. 

To sum up everything, I see myself using this lens for special shoots like events where I won't have much time to switch lenses. Maybe in a place that I have very short period of time to shoot. But for my regular landscape photography I will continue using my light primes. 

It is a great time to be a photographer with all these amazing tools coming out like crazy. Every month there is a new lens or camera. Luckily I have the privilege to try pretty much all the new equipment and I learned that the most expensive gear doesn't always mean it is the best one for my needs. This is another great example. I could buy another Sony A7ii body and take a trip to Hawaii with the money I spent on this lens and I would still have some money left for some amazing Tacos and Craft Hawaiian Beer.

Thanks for reading.

Baris

Follow us on instagram @barparildar @bukeii

Sony 50mm f1.8 Real World Review

This is a real world test of the Sony 50mm f1.8 FE lens. It is not sponsored or funded by anyone. I am just making this blog post to show a different approach to photography. 

If you are reading this post, you probably are into photography and you know that it can be a really expensive hobby with all the gadgets around. There are so many cameras, lenses, accessories and they are mostly advertised as the best of the world. If you are starting photography and know little about it, you can easily spend thousands of dollars on gear thinking that your photos will get better with the dollars you spent. The truth is, gear is only a small part of the equation. LIGHT, COMPOSITION and your CREATIVITY is more important than any gear you can buy. 


Whenever I post an image online, I get the same question, "what do you shoot with?". I can't say I haven't been at that point when I was just focusing on equipment. It took me at least 4 years to figure out that gear is just something you use to create images. It is just a tool. If you don't know what you are doing with it, a 50K Phase One will not help you get good images. 

It takes some time to learn the basics of photography and if you are persistent enough, new doors open. Your camera becomes a part of you. You just choose the system that is suitable for your needs. It doesn't have to be the newest or the most expensive camera or lens. You just stick to what you feel most comfortable with. 


So, last week I decided to tell a story with my photos.  A story that I have been trying to tell everyone who has been asking me about my camera gear.

I bought the cheapest Sony FE lens, the 50mm f1.8. I got it open box with some extra deals at Best-buy for $174. I put it on a used A7 which I bought for $900 and ordered a 49mm circular polarizer for $20. I created the whole kit for $1100 which is less than just one Zeiss lens for Sony system.  I needed to see if I was right or wrong. Would I still be able take some cool images with an odd focal length for a landscape photographer.  


We drove to Estern Sierras for 1.5 days. I was only gonna use this setup for the whole trip. No excuses. @bukeii was using Olympus E-P5 with the 12-40 f2.8. 2 cameras and 2 lenses for a complete photo trip.

I know 50mm f1.8 has one of the worst autofocus systems ever built. It hunts, and sometimes misses focus. But, I shoot products and landscape photos. I am not shooting a football game or birds. I really don't care about auto focus that much. I can live with it. The next lens I could buy has better autofocus but it is $900 more expensive. 

I really loved the sharpness of this lens. Especially center sharpness is great. Color and contrast looks as good as my other lenses. I was actually tired of using Canon lenses with adapters. This is a better performer than my Canon 50mm f1.4 and 24-105 f4 L at 50mm. 


So, all these shots you see here were shot with this lens in just a short period of time. I stitched the panoramas in Lightroom. I love the 50mm pano look more than any wide angle lens. 

I am going to keep this lens with my 28mm f2 and hopefully buy the new 85mm f1.8. I am pretty sure it will be a great performer as well.

Check out the rest of my photos on my instagram @barparildar and on Amy's instagram @bukeii


I hope this blog post helps you save a little bit of money and use it on a new photo trip. 

Have a wonderful day.

Baris 


Sony 28mm f2

I am not one of those online gear review guys that tell you to buy stuff. I just love sharing my thoughts about the gear I use.  

I started using mirrorless cameras 2 years ago with an Olympus E-P5. It was actually a funny story how it all started for me. I will write another blog post for that in the future. 


To cut the story short, it worked pretty well for me. I used the E-P5 almost everyday. Got some incredible results with it. I still have it as a back up camera with me when I travel.

Point Vicente Lighthouse. Palos Verdes, CA

Point Vicente Lighthouse. Palos Verdes, CA

 Last month I decided to buy a full frame Sony. I got the regular A7. It is the perfect portrait camera for me. It could get me used to the Sony Alpha system before they release the new A7rii or A9. Whatever the name is gonna be, the upcoming high resulotion A7x camera will be my main landscape camera soon. 

Sunset in Santa Monica, CA

Sunset in Santa Monica, CA

I had no native Sony lenses so I got a cheap adapter and started using with my Canon L lenses. They work pretty good in most situations. But... There are some issues. Canon lenses are big, autofocus is so slow and if there is a light source in the frame you sometimes get some weird flare.​ 

A couple enjoying the beach at Manhattan Beach, CA

A couple enjoying the beach at Manhattan Beach, CA

I immediately started checking the native Sony lenses. I wanted to get something small and lightweight as my first lens. Zeiss 35 f2.8 looked like the only good option available. I like 35mm focal lenght. I could get used to a little slow f2.8 aperture. Then I saw the new Sony 28mm f2. It wasn't a Zeiss. I was a little sceptical at the beginning. I heard so many bad things about the old sony NEX lenses in the past. But I needed something soon. I couldn't wait more. I ordered the lens 20 minutes after it was available on Amazon US.

So, I got the lens delivered 4 days ago. There is no other lens that I fell in love that quick. It is sharp, lightweight and feels amazing. Manual focusing is great even though it's focus by wire lens. The best part for me is how it handles the direct sunlight. It's unbeliavable. That must be a special coating.

One of the first images with my 28mm f2  

One of the first images with my 28mm f2  

Of course there are some downsides. Barrel  distotion is the most obvious one and I can get rid of it on Lightroom in 2 seconds. It is not an issue for me. Corner sharpness might not be excellent on f2. But I do not even consider that an issue.

Cutest car in Palos Verdes, CA

Cutest car in Palos Verdes, CA

I took all the pictures you see here in just a short amount of time. I can't wait to get this thing to a phototrip with me.

I needed an all purpose lens that could stay on my camera most of the time. I think I found what I dreamed of.

Check my Instagram acount for the future images. 

Have a great week!!!

Baris

First entry of my new website

From now on, this website will be the center of my online activities. I will share my adventures, photos, equipment reviews and much more here. 

Shot on Canon T2i and Tokina 11-16 f2.8

Shot on Canon T2i and Tokina 11-16 f2.8